Ptarmigan wrote: ↑Fri Nov 13, 2020 8:29 pm
I am glad to see this waxing thread pop up as I also have some questions regarding this.
My husband and I picked up our new Asnes Nansen skis from Neptune this week and can't wait to use them once there is enough snow. However, I have never owned a pair of waxable classic XC skis. I have a lot of experience waxing our skate skis, tele skis and snowboards, but these involve only applying hydrocarbon glide wax so I don't know much about using kick wax. The Nansen skis will be used in the Colorado mountains so temperatures tend to be pretty cold... at least until the spring.
After talking to some staff at the shop and reading online tutorials, I had been planning on waxing the tips and tails with cold-temp glide wax and then rubbing and ironing in some Swix Polar kick wax into the kick zone (or maybe Swix blue base binder instead? I wasn't sure what would be best.) I then planned to crayon and cork a our daily wax on top of that. However, reading some threads here, it sounds like perhaps I should iron Swix Polar kick wax onto the whole ski, tip to tail instead of just in the kick zone? I would love to get suggestions on what is best (or at least what to try first until I develop more experience)?
Also, tutorials say to sand the kick zone. Taking sandpaper to our new ski bases sounds scary! How can I make sure to sand the correct area? Any tips on that part?
Thanks!
I use Polar as the base wax over the entire ski. In the Telewiki section Lilcliffy has a kick wax tutorial thread. While Gareth (Lilcliffy) recommends ironing the polar in, then corking. I just cork the Polar over the entire ski. While I am not saying corking in Polar as a base wax works. I believe ironing will give better results, I’m just cheap and don’t want to waste kick wax.
Now assuming you have a base wax of Polar over the entire ski you simply apply the wax of the day in the kick zone. Keeping it simple on your Nansen call the kick zone from your heel to the X-skin attachment point. I usually crayon on a layer, and cork it in repeating for at least 3 layers. I used to really put a lot of elbow grease into the corking, and really made that wax shine. I now believe that to be unnecessary and even counter productive. Just use the cork to spread it around into an even layer.
Now let’s say you put the wax on and you slip. Before you put a warmer temperature wax on, just extend the wax all the way to the tip. Many times that is all you need. I have only had problems and never any benefit applying wax behind the heel.
So let’s say you extended the wax to the tip and you’re still slipping. No problem, now you apply the next warmer wax. I usually start in the wax pocket area before extending to the tip.
Now let’s say you were slipping with blue, and when you went to red it gripped, but clumped to the bottom of your ski. I’ve found in those circumstances ONE layer of blue back over the red and you have grip and glide.
I live in Michigan and deal with a lot of temps right around or just above freezing. It really isn’t difficult, I just use red/silver. In colder temperatures where you use blue and green it’s pretty simple.
Don’t let people make this complicated. When first applying wax when in doubt lean to the colder wax. If you slip, apply the next wax warmer.
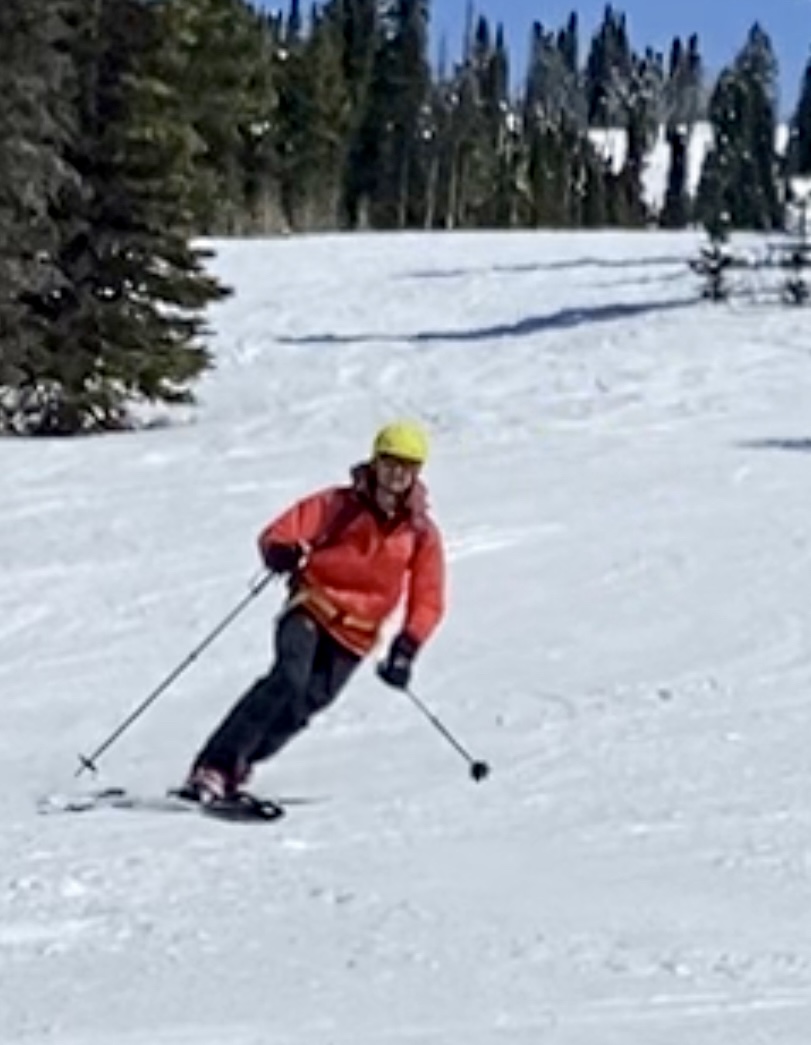
Oh... We will be looking forward to photos!!!
And... the Link to Lilcliffy’s tutorial:
https://www.telemarktalk.com/viewtopic. ... 020#p32020
https://www.telemarktalk.com/viewtopic. ... 020#p32020